
Blog
SAP Analytics Cloud (SAC) is a very powerful tool for analyzing data and determining the current state of your business as well as for looking at the past for patterns. However, a successful business must always plan for the future and measure actual data against its plans. SAC planning module can easily consume SAP and non-SAP data and create a consolidated report for planning and forecasting. Many of our customers use this functionality for consolidating sales and financial planning and forecasting.
Step by Step to Create your first Planning Model
- Create a Planning Model
- Enable the planning functionality
- Configure the planning scenario
- Add your planning data alongside your actual data. This process does not affect your actuals and is a separate version of the data.
This post will guide you through a very simple scenario to help you accomplish these steps. Also, everything in this post can be done using the free SAC trial, so try this out today!
Creating and Configuring the Planning Model
For this walkthrough, here is a very simple dataset of actuals to work with that measures sales Revenue across year, store, and product line. We want to create a sales revenue plan for the next few years and be able to compare our plans as actual data comes in.
| Year | Store | Product Line | Sales Revenue |
| 2016 | A | X | 10000 |
| 2017 | A | X | 12000 |
| 2018 | A | X | 13000 |
| 2019 | A | X | 14000 |
| 2016 | A | Y | 9000 |
| 2017 | A | Y | 8800 |
| 2018 | A | Y | 12000 |
| 2019 | A | Y | 15000 |
| 2016 | B | X | 5000 |
| 2017 | B | X | 5500 |
| 2018 | B | X | 6000 |
| 2019 | B | X | 6500 |
| 2016 | B | Y | 10000 |
| 2017 | B | Y | 11500 |
| 2018 | B | Y | 13000 |
| 2019 | B | Y | 12000 |
1. In. SAC, create a model as normal. You can load this sample data as Actuals.
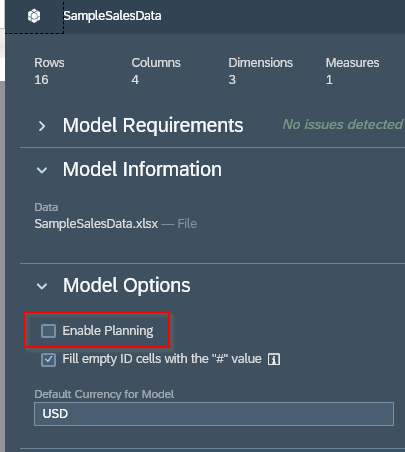
2. Enable Planning.
a. On the Model Creation page, click “Enable Planning” in Model Options.
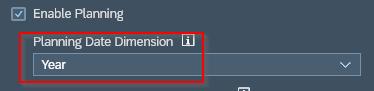
b. Select the Planning Date Dimension
c. When you’re finished with configuring, create and finalize the model as usual. NOTE: Be sure to enable Planning before you finalize the model creation!
3. Specify Date Range and Granularity
This step will configure your new model to account for dates beyond the actual years so that you can assign planned sales revenue in the future.
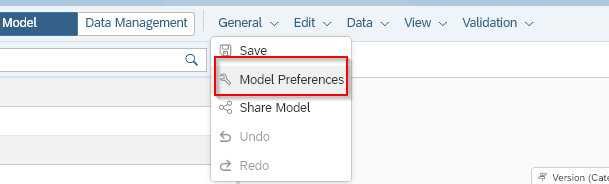
a. After creating the model, access it.
b. Click on “Model Preferences.”
c. In the “Planning & Time Range” section, set the range to a time in the future. NOTE: The granularity is based on the date dimension you selected previously. You can always come to this setting later and extend the chosen time range.
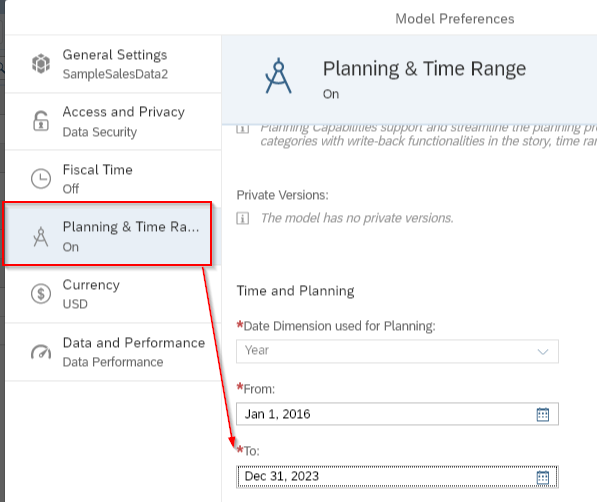
4. Click “OK” at bottom to save your changes.
4. Publishing a Planning Version
Now that the Planning Model you created contains some Actuals and all the groundwork for Planning has been set up, everything else is done in a Story. You will create a simple table in a new story, show the Actuals in one column while typing in the Planning data for each store in the next column. You’ll also learn how to break down the Planned figure into further dimensions.
1. Create a Story with Table, and select the Planning Model as the source.
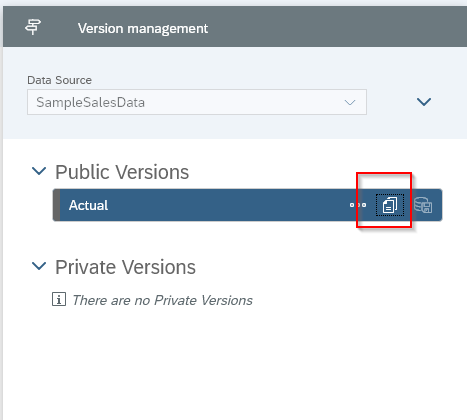
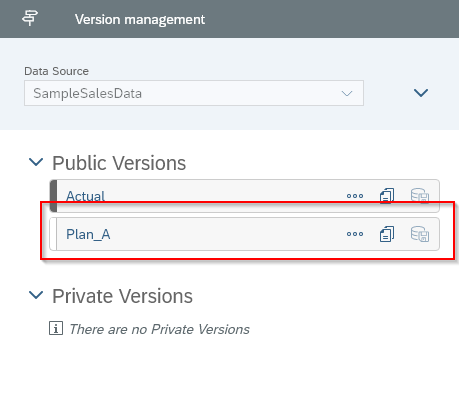
2. Go to Version Management.

3. Copy Actual Version.
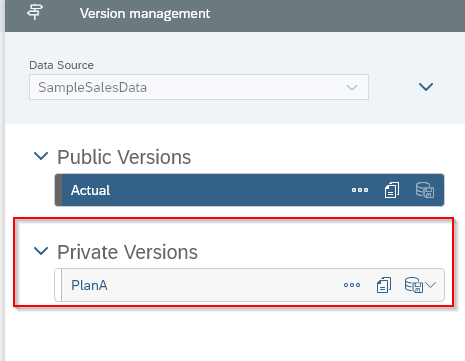
4. Create a blank Planning Version.
5. A new, private version is created that only you can see.
6. Add a new Year to column by right clicking the Year column and clicking “Add Member.”
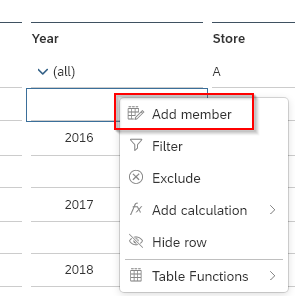
7. Click a new cell in the Year column, and type in 2020, then click on the popup. NOTE: you can only add members that are already in the planning model range.
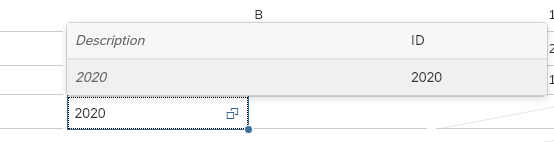
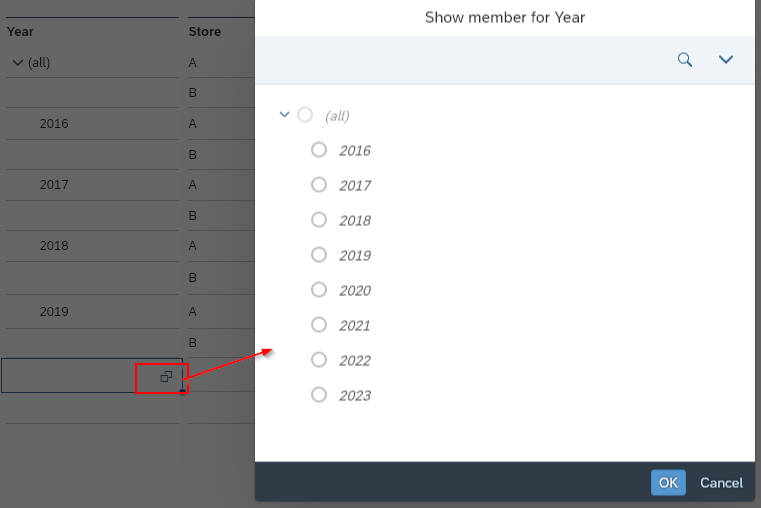
NOTE: You can also click on the expand button to bring up a list of all available members.
8. Repeat the same process for the Store column, adding Store A to the table.
9. Click on the Plan_A column for the 2020 Store A row, and type in the planning figure.

10. Repeat this process for 2020 Store B. Now you have planning figures for 2020.

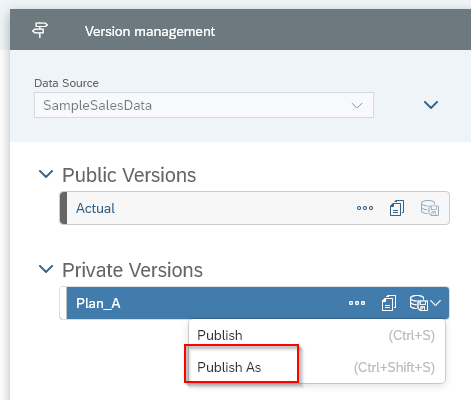
11. Publish the Private Plan_A version in the version management panel. NOTE: The “Publish” option is for replacing the existing public version. “Publish as” is for creating a new public version.
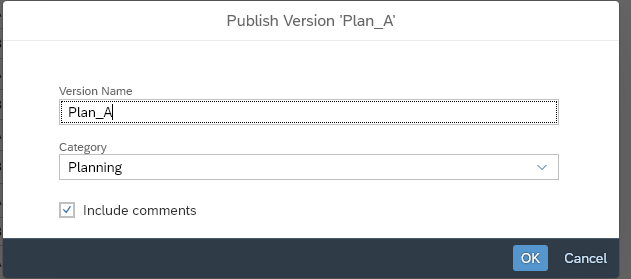
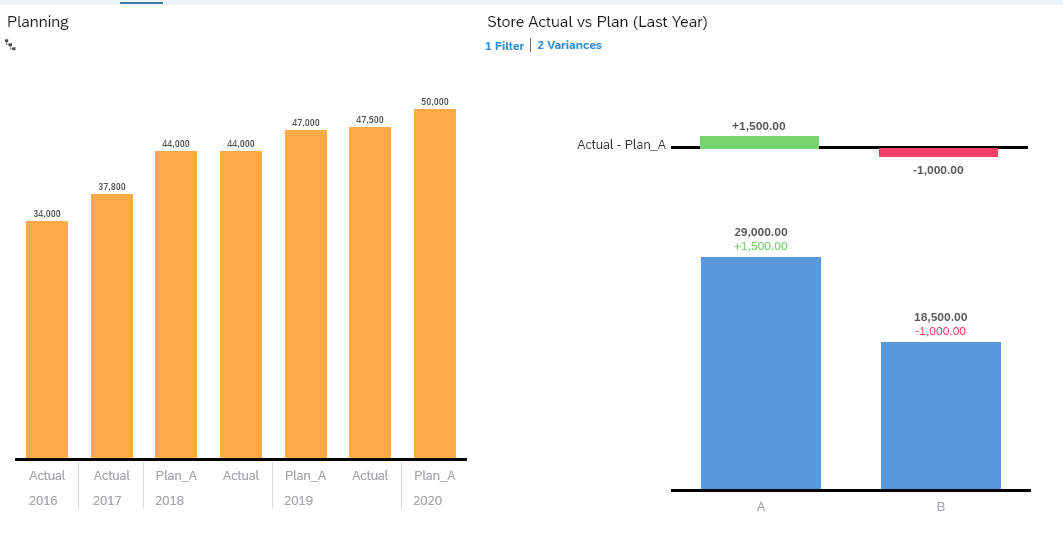
12. The new planning version is now public and available for everyone to see and use for reporting.
13. Any reports that use this model can access the new version and create powerful reports.
By following these directions, you created a very simple model in SAC and published a separate version of the data for Planning purposes. This is not the extent of the planning capabilities by far, but you now have a solid foundation to build from and can create far more complex Planning scenarios in the future.
Everything shown here can be done using a free, 30-day trial of SAP Analytics Cloud. For more information, contact us now.